The minute I saw the tear drop links, I imagined a set of earrings combining the beautiful golden bronze with silver accents. Mixing metal colors would make the earrings go with any outfit. I had just finished taking an online jewelry class where we had re-used vintage rhinestone jewelry. My jewelry supply stash was overflowing with bits of rhinestones which were the perfect accent to the warm bronze color.

Showing off my quirkiness - one of the links is upside down!
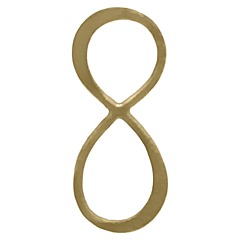
What's even better about these earrings is they're quick and easy to make. You need four silver plated 6mm jump rings along with two vintage rhinestone drops, two teardrop links and two earring findings. Attach the teardrop links to the earring finding using the 6mm silverplated jumprings. Use the other jumprings to attach the vintage rhinestone findings to the smallest drop.
Quick, easy and beautiful. That's how I like it. What a beautiful partnership!