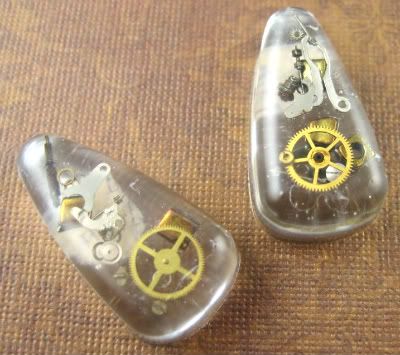
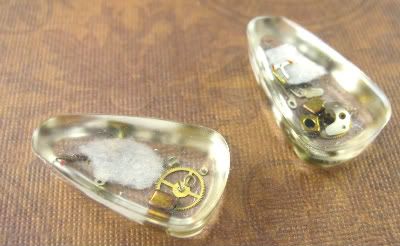
Remember I said the inspiration fairy visited me after I got the Rings & Things Goodie bag, right? Well here's another fabulous project I made with the Brass Square Frame....
The Deconstructed Watch
One of the great things about this project is it can be made for $10 or less. The cost for the brass frame is $6.70. If you have the tools already and you are hoarding junk, then you're not going to spend anymore than that.
I've been haunting the flea markets and buying up old watches and keys. That set me off to buy
special watch tools because I couldn't take the watches apart. This project uses the watch parts I've been able to get from the my flea market finds combined with "stitching" the parts onto the brass picture frame.

Materials:
Circular watch part approximately 29mm in diameter (to fit onto the brass frame)
Brass Frame #49-441-0
Approx. 30mm square brass picture-frame charms, 1.8-2.2mm inner diameter loop. 1.3-1.7mm thick. Fits 25mm image.
6 Glass dagger beads (14mm or so)
4 feet 28 gauge brass wire
1 6mm or 7mm jump ring
Tools:
metal hole punch pliers
small files
steel bristle brush
wire straightener pliers
wire cutter (to cut the 28 gauge wire)
Directions:
1. Cut four holes, one on each corner of the brass frame - on the flat metal not on the raised edge.
2. File the holes smooth so there are no rough edges.
3. Above filing will cause scratches in the smooth finish of the brass so use the steel brush to create a satin finish on the brass. Brush the brass frame with the steel brush in circular motions on the front and the back of the frame.
4. Cut the 4 feet of 28 gauge wire. Use the straightening pliers to take out any kinks in the wire.
5. Hold the circular watch part to the brass frame as you thread the wire ends through the two top holes.
6. Pull the left wire end to the opposite hole at the right hand side on the bottom of the frame. Pull it diagonally across the front of the circular watch part. Thread it through the right bottom hole to the back.
7. Pull the right wire end to the opposite hole at the left hand side on the bottom of the frame. Pull it diagonally across the front of the circular watch part. Thread it through the left bottom hole to the back.
8. The wire makes an "X" holding the circular watch part in place.
9. Pull the right bottom wire end over to the left bottom hole and thread through to the front.
10. Pull the left bottom wire end over to the right bottom hole and thread through to the front. You're "sewing" the watch part into place.
11. "Sew" across the front again pulling the left wire diagonally across the front to the right top hole and the right wire diagonally across the front to the left top hole.
12. Thread wire ends through the top holes and then cross to the opposite side and thread through the front.
13. Sew diagonally across the front on both sides and thread through to the back.
14. Now add 3 dagger beads to the wire on one side.
15. Make a circle with the dagger beads and hold them in place while you thread the end of the wire through to the front to the back. Secure the circle in place by threading back to front. Do the same for the other side.
16. Sew diagonally across the front and wind the end around the top ring two to three times. Do this with both ends. Trim the wire with your wire cutters.
17. Attach jump ring.
I managed not to glue any of the "glue-ables." I had alot of fun challenging myself and coming up with ways to use them in an unconventional way. Other than gluing, what might you have done with any of the glue-ables I showed you this week?